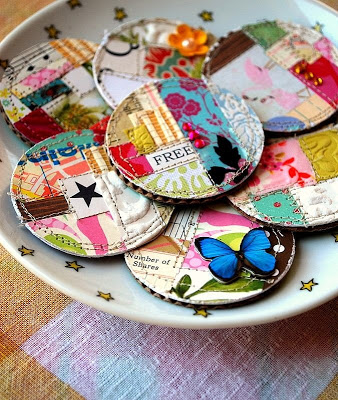
Hi everyone! It’s Tarrah here with you today. I wanted to get a start on some handmade Christmas gifts so I went to my number one place for some ideas and inspiration: Pinterest!
Scraps of patterned paper
Word Stickers
Rhinestones
Paper Doily
Embellishments
Mod Podge
Circle Chipboard Pieces
Magnets
Sandpaper
Hot Glue Gun
Sewing Machine
Step 1: Gather some of your patterned paper scraps and a little bit of paper doily and lightly adhere a few pieces together into a square shape (making sure that your round chipboard piece will fit) then adhere with some glue or Mod Podge to your chipboard.
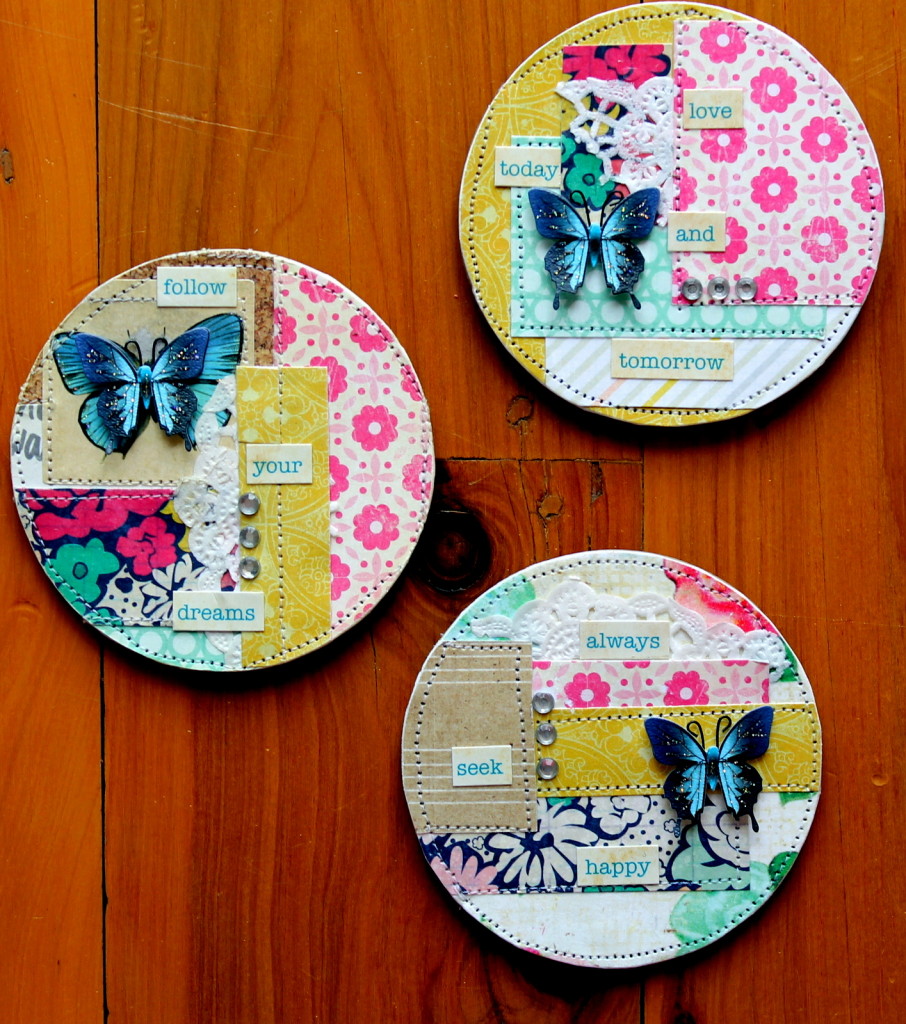
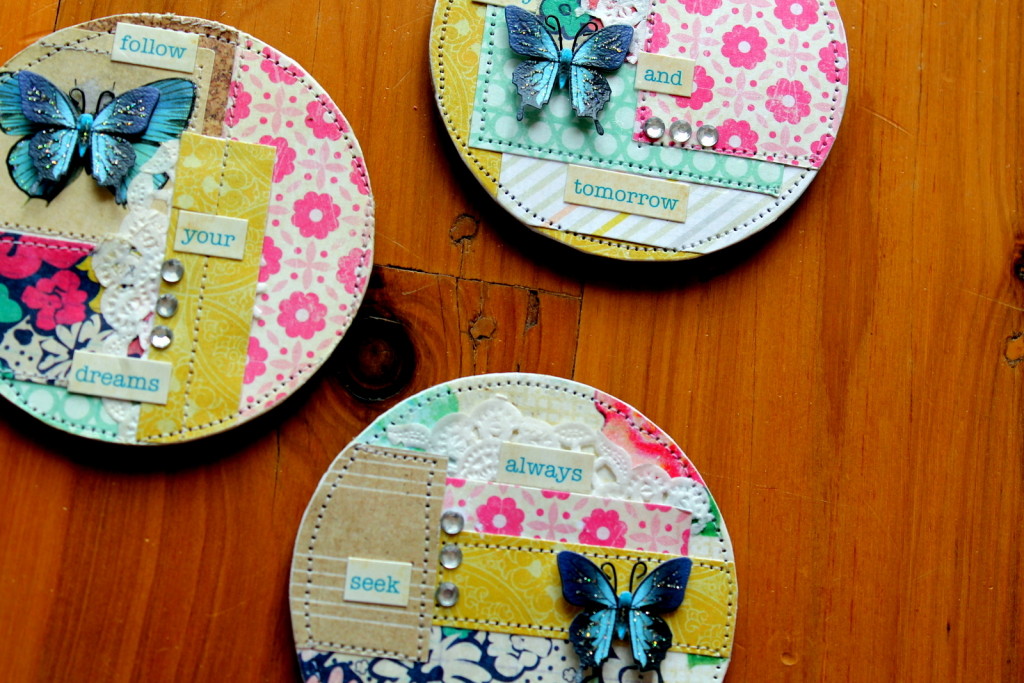
These are the ones I made:
Step 2: Cut off the excess paper and then sand right around the edges to give a nice finish to your circle. Machine stitch around a few of the papers edges and around the perimeter of the circle.
Step 3: Add some word stickers, rhinestones and embellishments like butterflies or hearts.
Step 4: Apply a light layer of Mod Podge over the whole circle to seal everything and then once the Mod Podge is dry, adhere the magnet to the back of the chipboard with a hot glue gun.
These cute magnets will be gifted to a couple of my girlfriends for Christmas who always love receiving a handmade gift from me!
I hope I have inspired you to get creating too, thank you so much for stopping by the Papercut Labs blog today!
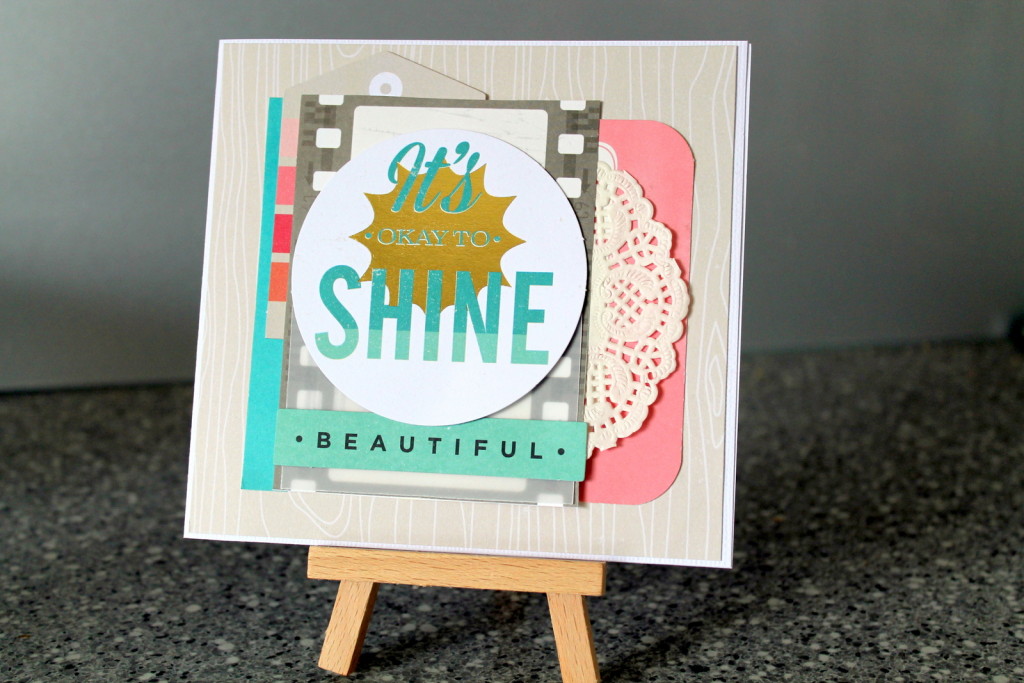
Blogging team member Tarrah has not only created a beautiful card based on Natalie’s Twirl, she also filmed her process!
Tarrah took Natalie’s layout and used it as an inspirational sketch, while maintaining some of the beautiful qualities found in the layout.
We’ve sped up the video so you can see this amazing under-ten minute card in just one. Want to make cards quickly too? Flashy Cards Fast is still discounted!
Hi everyone! It’s Tarrah here with you today posting my first post as part of the Papercut Labs Blogging Team!
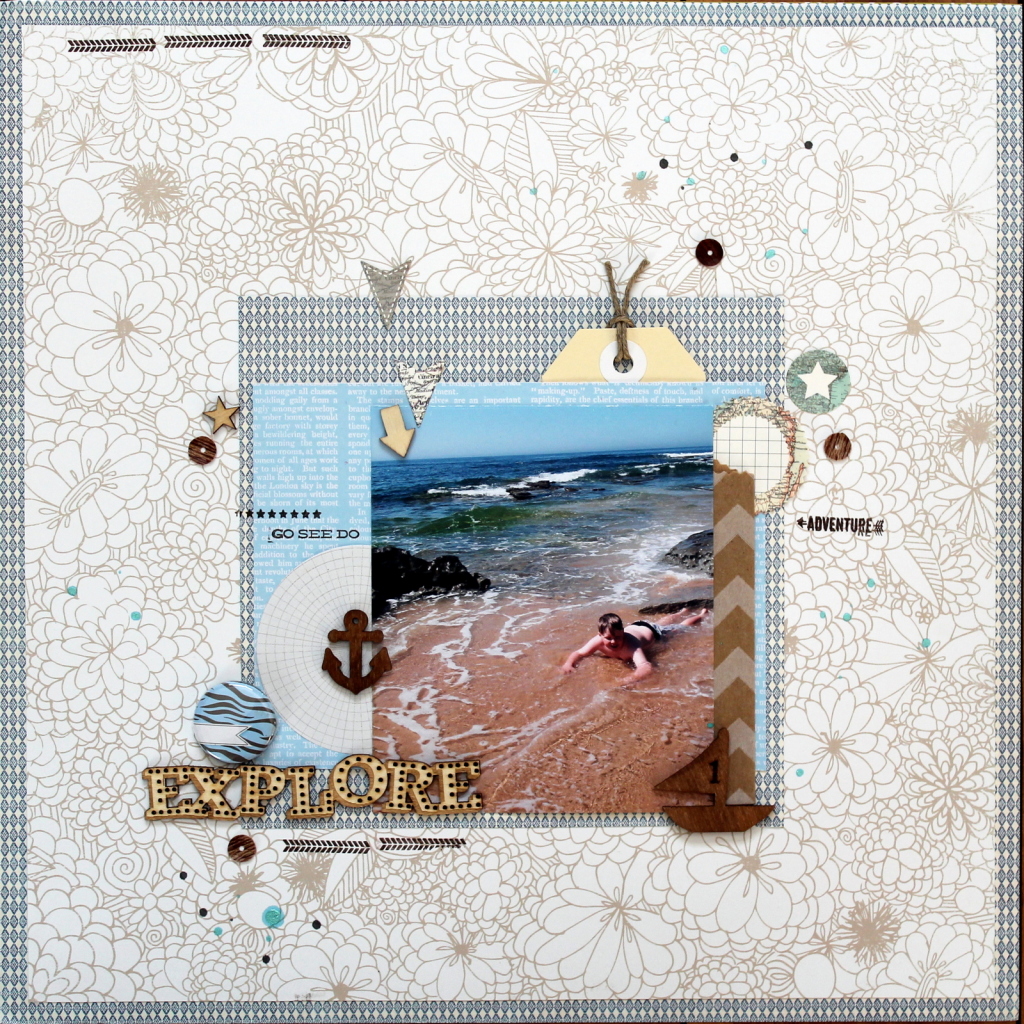
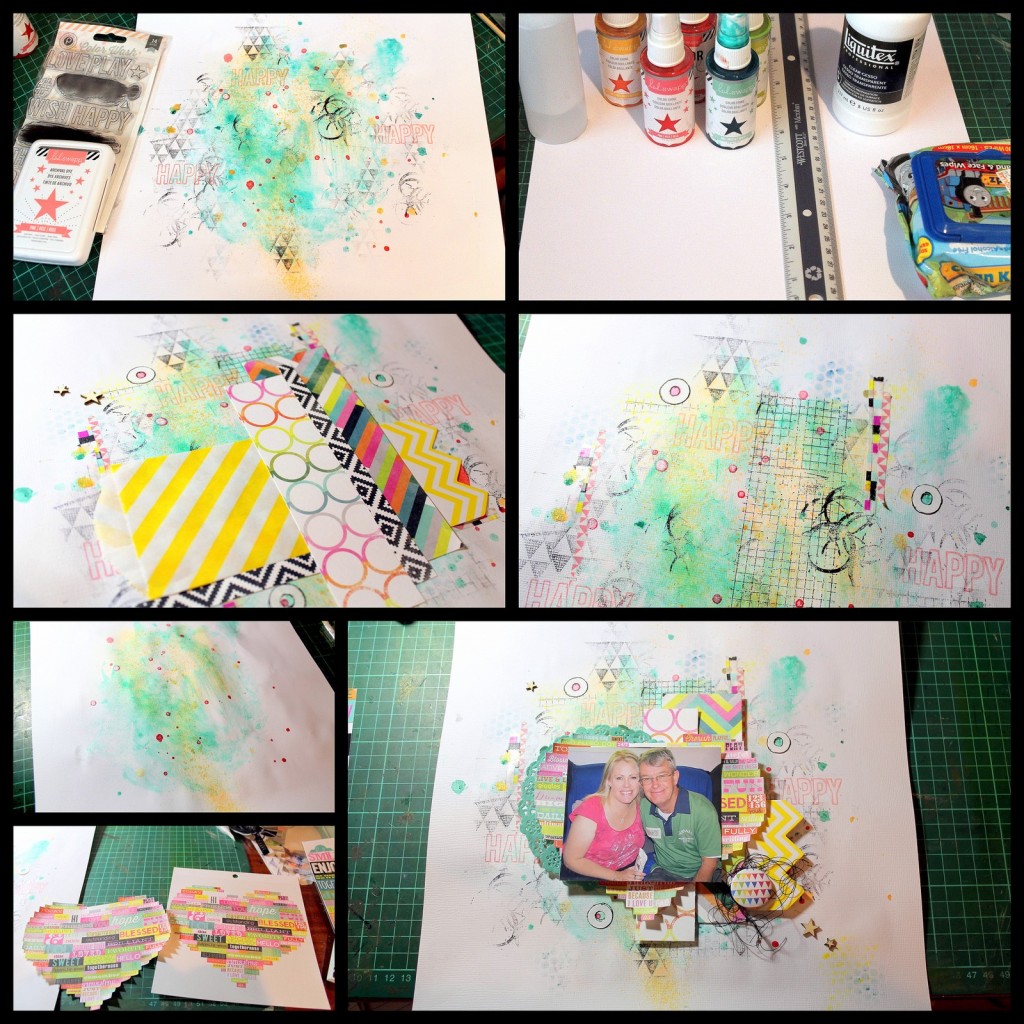
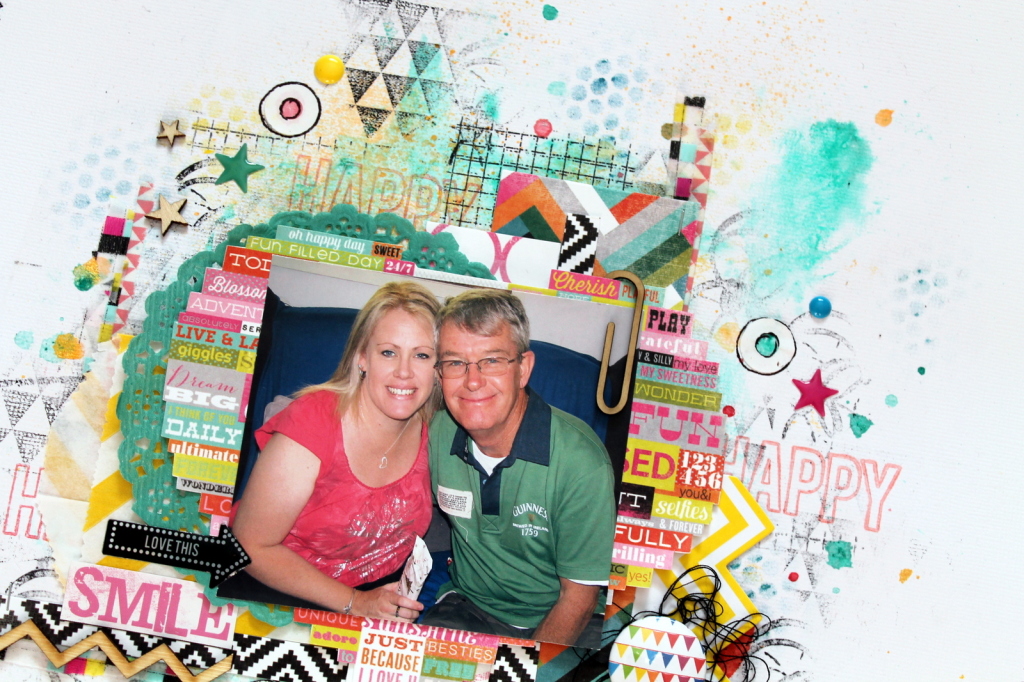
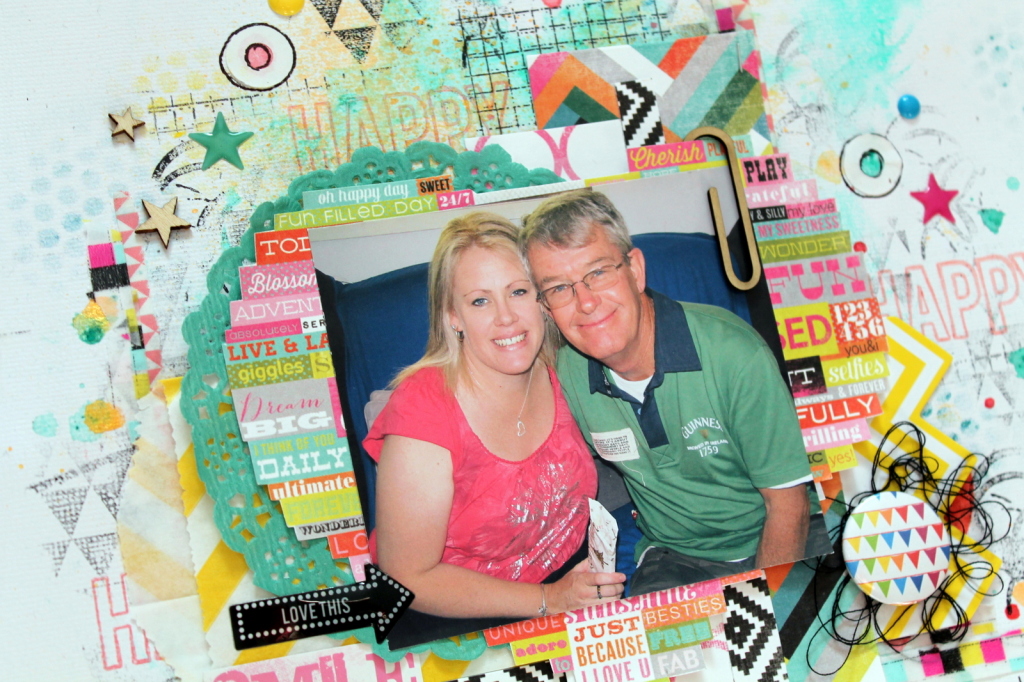
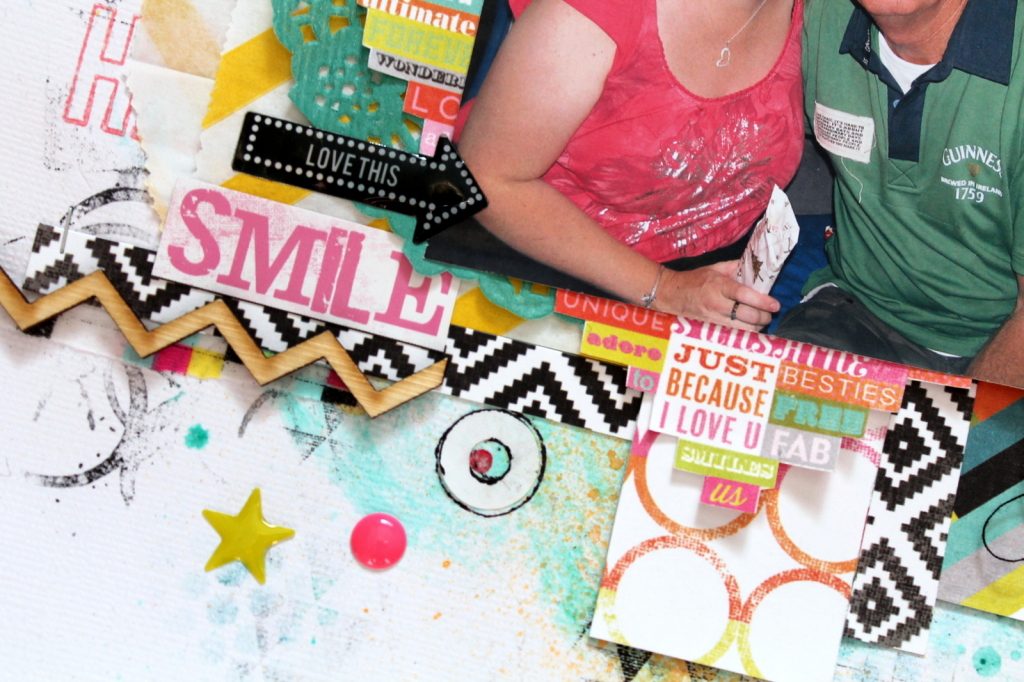
I am so excited to be here!! So I thought I would start off by sharing a layout with you all. I was totally blown away by Jen Hall’s beautiful projects and all her wonderful techniques she shared in her ‘Colour Series’ classes held right here at Papercut Labs. I was super inspired by Jen’s ‘Water’ class and her ‘Stamp’ class that I wanted to have a play straight away.
I created a collage of pictures above of the creating process. I used Heidi Swapp Color Shine for my watercolour and misting techniques.
I used a mixture of different brands of stamps and inks including stamps by Darkroom Door, Kaisercraft and Pink Paislee, while the inks I used were Heidi Swapp, Staz-On and Versacolour.
I used some of the 6 x 6 paper pad papers from the bright Heidi Swapp ‘Favorite Things’ collection. I also added some washi tape, thread, a flair, enamel dots and wood veneer to give so more texture.
I almost always use a doily and/or a pocket/bag for extra layering on my layouts. I love the dimension they give.
I don’t use mediums and stamps very often on my layouts (I’m too impatient lol!) but I just love it when I do! Thank you so much Jen for sharing your amazing talent with us in those wonderful classes.
And thank you so much for stopping by the Papercut Labs blog. I will be back really soon, but until next time: happy creating.