It’s summer here in Australia, so I’ve been looking for a way to spice up my computer screen. All my favourite graphic designers who give away wallpapers are based in the Northern Hemisphere so everything is dark and dreary or has been autumny.
As with all things, when I couldn’t find it, I had to do it myself!
I wanted something that said water while also being fresh. I bring you the blue watercolour-inspired wallpaper of the month!
There are three versions of the one wallpaper. One for all seasons, and two with a December calendar on it. (The circles behind the calendar are just slightly different. I couldn’t decide!)
Ready to download? Click the buttons below! (Note, sometimes you may need to click the button twice–for some reason, occasionally it’ll take you to a blank page. =( )
My office is filled with stuff. I have five Billy Bookcases (thanks Ikea) that are double stacked with books piling up in front of it on the floor. I have boxes of crafting things, either freebies from some generous people or things that I bought because how could I not? The problem with having a tiny office/study area is that the ever-leaning, almost-tipping piles of things around me sometimes distract me. They pull me away from things I should be doing.
My solution: music.
I sing, out loud, to music, all the time. I’m grateful that I’m the only one at home so no one has to be put through my cat screaming. (The only place I sing louder is in the car when I’m alone.)
I thought, there has to be other people, with offices–or craft rooms–that threaten to fall on top of them daily as well? Maybe they need a bit of sing-therapy.
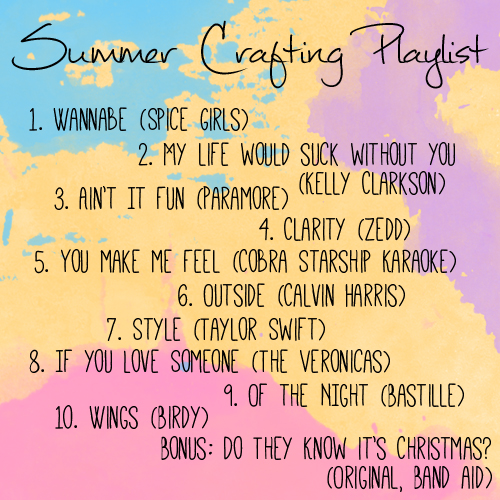
HENCE, the Summer Crafting Playlist. A playlist guaranteed* to make sure you are GTD (Getting Things Done). A lot of the playlist is pop-y, and dance-y, and it will definitely make you want to sing along.
Focus on the singing and the Leaning Tower of Books / Papers / Crafting will disappear and you can actually get some creating done.
* I can’t actually guarantee it. But it works for me!
Hi everyone, it’s Jodie here with you today with my Week 38 Project Life Spread!
This week I thought I’d try something different for my Project Life supplies, and use a kit from a kit club. I decided on the October main kit from A Piece of Cake Designs. My photos for week 38 had touches of yellow, sandy beiges, some pinks and turquoises, so I used that as my colour palette and pulled coordinating papers from the kit. I also added some black and white papers and cardstock for contrast.
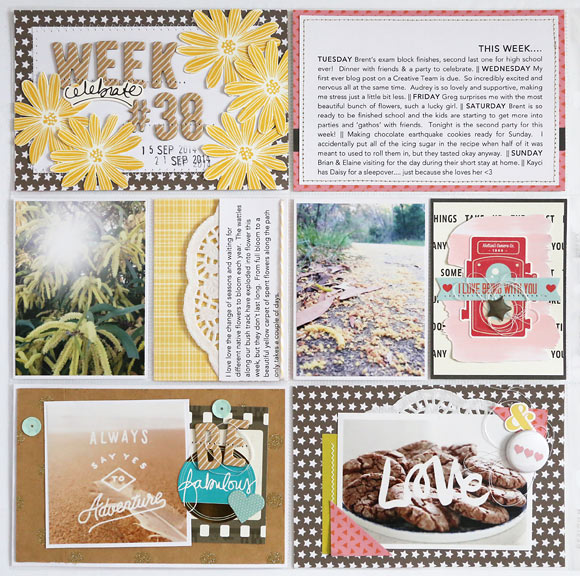
Here’s the left page:
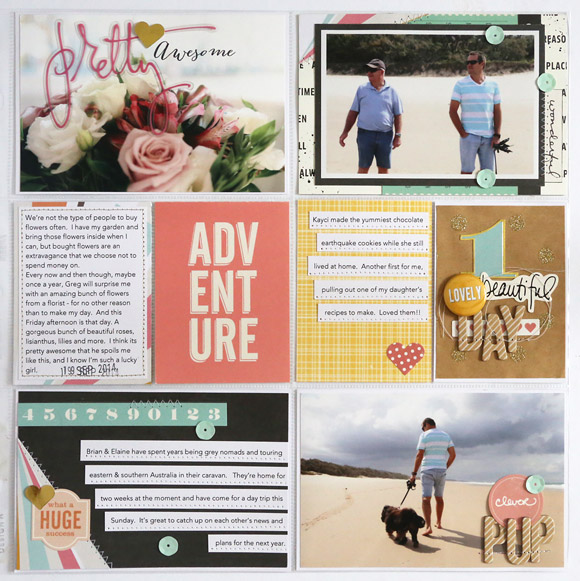
And the right:
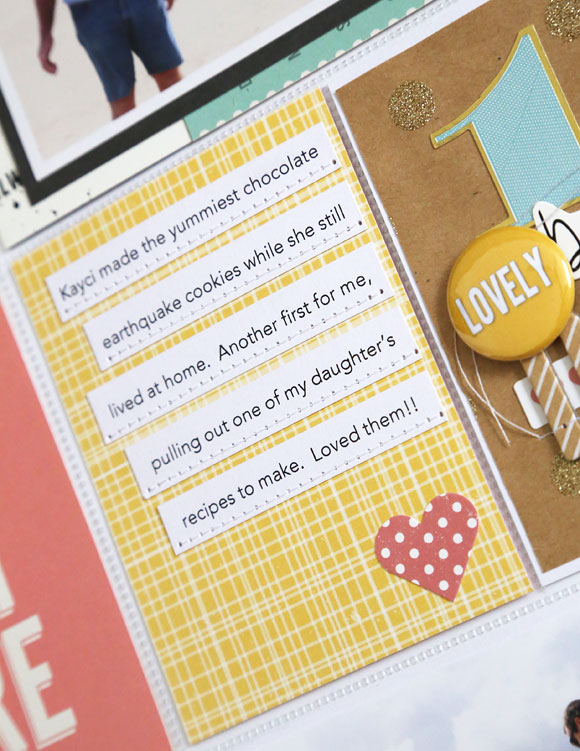
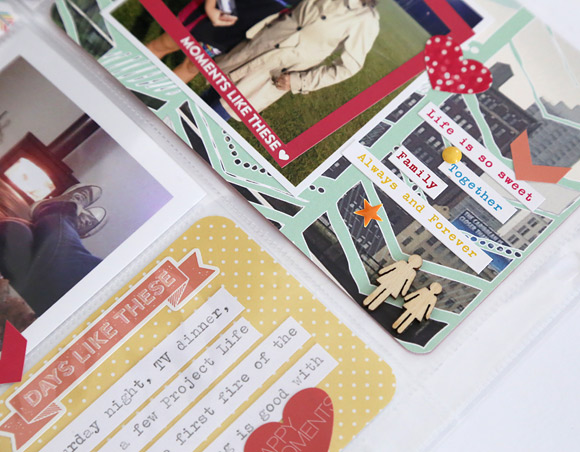
I’ve kept one 6×4 pocket on the left side for journalling in a ‘review of the week’ style, and added extra journalling in separate pockets for anything I wanted to expand on. By doing a summary pocket you can easily run through the highlights of the week. I’ve typed my journalling on my computer, highlighting the days of the week in capitals so that they easily stand out.
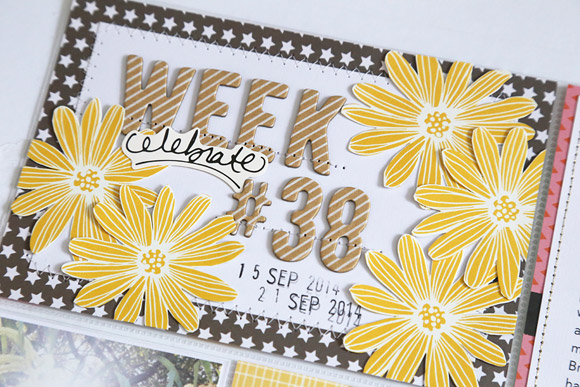
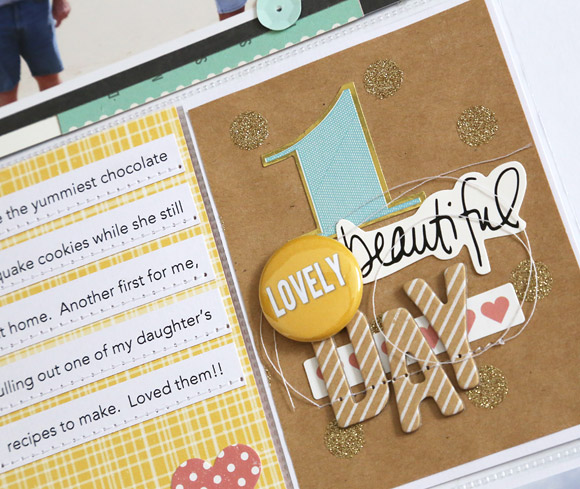
It’s important to me to record the changes in seasons as well as family happenings. This week where I live the wattle trees were in full bloom and I’ve included a photo of them in flower, and another photo from a few days later as the flowers dropped and our paths turned into a yellow carpet from them. I’ve drawn inspiration from the wattle flowers for my title card and fussy cut some yellow flowers from one of the patterned papers, scattering them around the card. I’ve used some Thickers for my week number and stitched through them, both to hold them in place on the card and for some added texture. I’ve then used a date stamp to add the actual dates of the week on the card.
I’ve digitally added the scripted word “Love” to the centre of the photo of my homemade biscuits. It’s a freebie by by Polka Dot Creative that can be found in the A Piece of Cake Designs digital store here.
Machine stitching journalling strips has been popular for quite a while, and has mostly been stitched right through the middle of the words. I’m loving the new trend of stitching at the bottom of the strip below the text, and I’ve done that here with some white on white stitching.
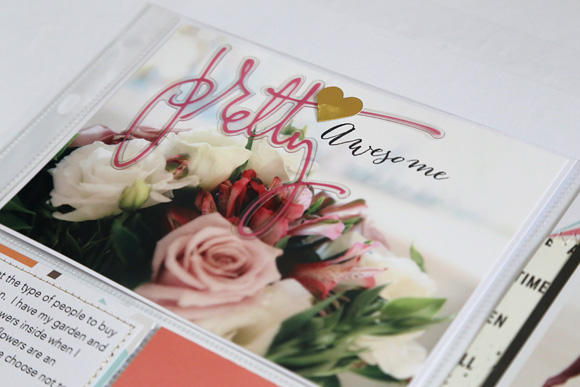
This photo of some beautiful flowers my hubby bought for me doesn’t need too much embellishing. I’ve used the little bit of whitespace left in the photo to add one of the Heidi Swapp acrylic words that came in the kit, and stapled it straight to the photo with my Tim Holtz Tiny Attacher. I’ve then covered the staple with a gold foil heart so that it’s completely hidden. I’ve had this “Awesome” stamp from Kellie Stamps in by stash for a while now, and it fit perfectly with this photo. I’ve used Stazon ink and stamped it right on my photo.
For this 3×4 pocket I’ve cut down a gold glitter brown paper bag and used it as a background paper. I’ve then just layered some stickers, Thickers, and finally a cherry flair button. Again I’ve stitched the Thickers down, and have left the loose threads fall where they want to inside the pocket.
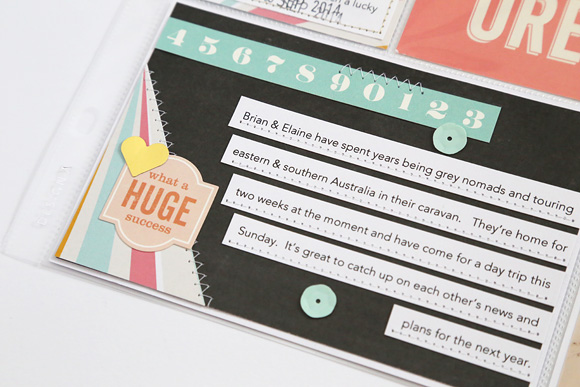
I used some chalkboard paper as a base for this card, adding one corner of patterned paper and part of a title strip. Many companies are incorporating extra designs onto their title strips so be sure to check them out before trimming them off and discarding them! These numbers in a row are the perfect addition to this card.
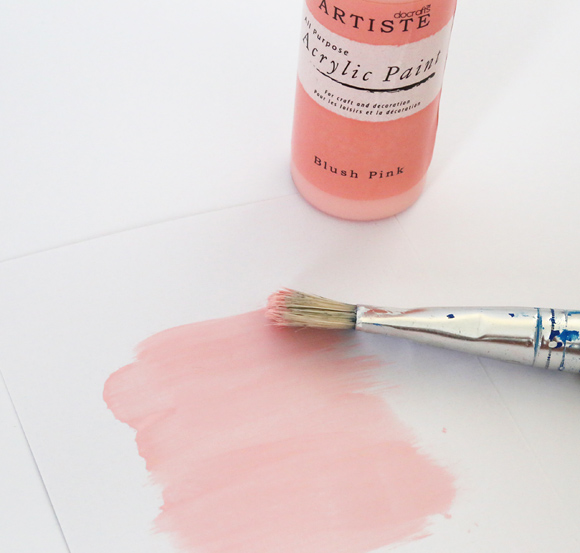
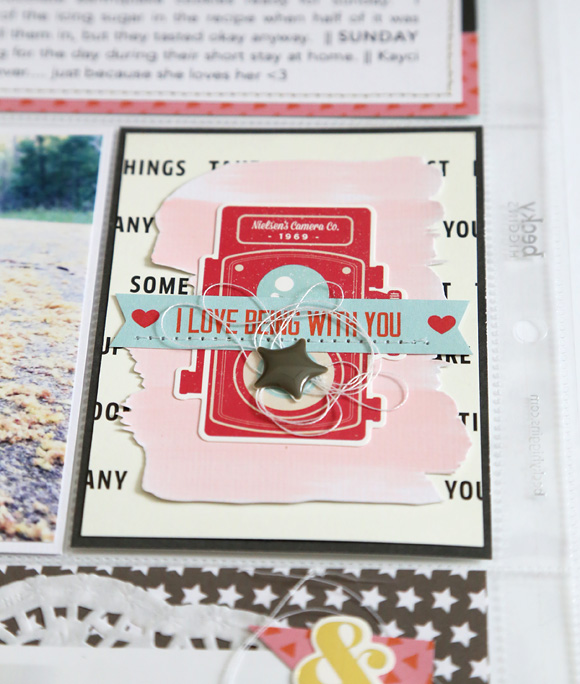
This is another filler card that has come together quickly. Starting with a background of a neutral patterned paper matted onto chalkboard paper, I’ve then grabbed some acrylic paint in a coordinating colour, and brushed a few horizontal brush strokes with a large brush on a spare piece of white cardstock. Once dry I’ve fussy cut around the painted area, being sure to pay attention to the intricate edges of the brush strokes. Then I’ve layered that piece, a vintage camera sticker, some text from another title strip that I’ve trimmed down and then stitched, and finally added a star enamel dot with some extra loose threads. One of my favourite things to do in my PL is create little layered filler cards like this!
Today is the day! Tonight at 7pm (Australian Eastern DAYLIGHT savings time), the challenges will be released and you can start creating and getting entries.
A reminder of the ways to get entries:
1. By joining the crop party event, you get an entry into the giveaway draw.
2. By creating a project (card, layout, OTP, something paper-y) inspired by the challenges, and uploading it to the event page, you’ll receive SIX entries into the giveaway draw. (Make sure you tell us which challenges you used!)
3. By commenting on a project on the event page, you’ll receive an entry into the giveaway draw.
UPDATE: They do not need to be Christmas pages, unless you’re using challenge 12 (“Must be Xmas-y!”).
Remember: You need to have posted your projects to the EVENT PAGE by midnight, Saturday 6 December. (You should be able to add a post to the event page (this link is an image), you can also upload a picture here.)
Number two needs a little further explanation.
You’ll get six entries if you make a card using challenge one. But, you’ll get twelve entries, if you make a card using challenge one and challenge three. You can use as many challenges as you like and you’ll get six entires for each challenge used.
Not only that, but you can reuse challenges! Let’s say you’re really inspired by challenge eight. You make a layout, two different cards (not a set) and use it in your December Daily. You’ll get twenty-four entries for those four projects.
Imagine the possibilities!
In the week since the last blog post, we’ve been figuring out bonus prizes to give away. So there are some special prizes that you’ll need to work for, but these prizes are still in development, so we can’t entirely share them. How do you get them?
One of the prizes will be given to the person with the most entries. One will be given to the person who used the most challenges on one project. Another will be given to the person who creates the most projects.
If you miss the crop, don’t forget to check back here at about 8.30pm Australian Eastern Daylight Time — we’ll update this post with all the challenges!
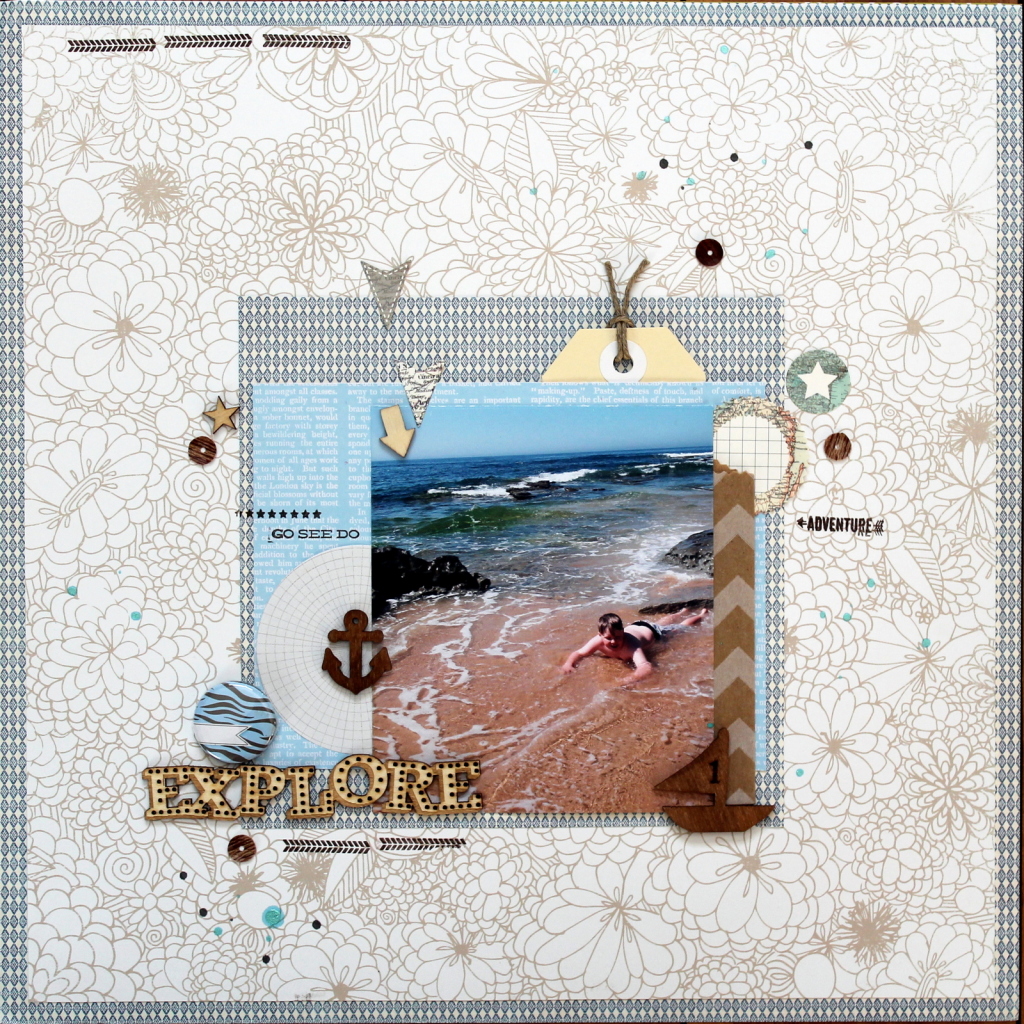
Hi everyone! It’s Jodie here with you today and I’m super excited to have my first post on the Papercut Labs blog as a Project Life contributor!
My Project Life style is a little bit structured, but I also love to add in layers and lots of little embellishments. I do use Project Life cards, but most of the time I prefer to use 12 x 12” patterned paper or a 6” paper pad, and make my own cards.
I have my Week 18 spread for you today with a few tips, so lets get started!
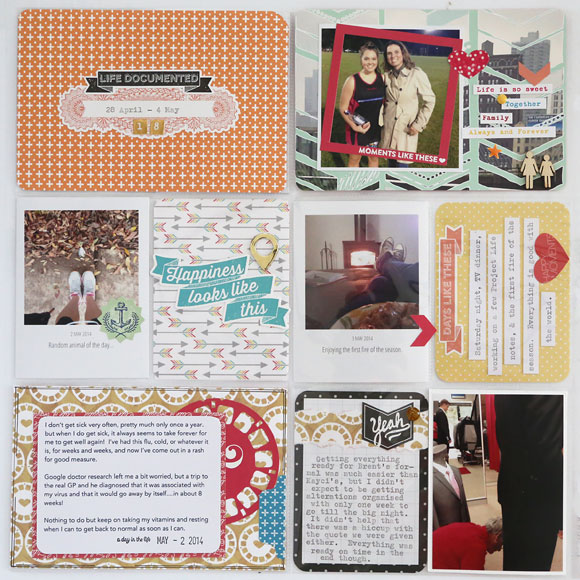
Here’s the left side.
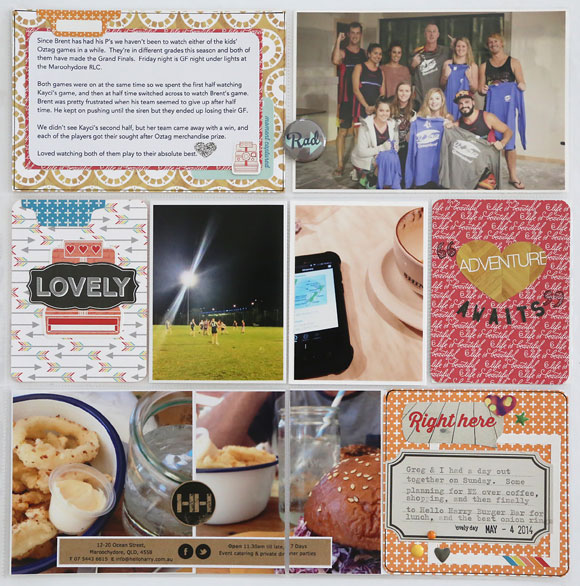
And the right.
This week I’ve used Echo Park Paper Co’s Capture Life collection. I’ve pulled a few patterned papers and this sticker sheet, which has lots and lots of embellishment options to choose from. I’ve also used two 3×4” cards from Becky Higgins’ Midnight edition core kit.
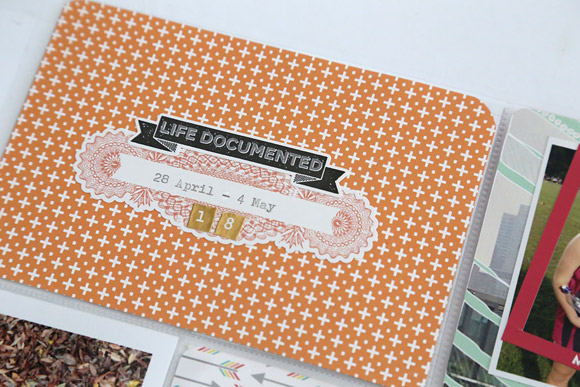
I’ve kept my title card this week fairly simple. I attached a label sticker to the centre of the card, which I then fed through my vintage typewriter, centering my dates on the sticker. Now, I’m (just…) old enough to have had typewriter lessons in high school, but for anyone that has grown up in the digital age, here’s a tip on how to centre your text on a typewriter.
First, feed your document through the roller until you have the line position correct. Use the space bar to move across to where the centre of the text will be (in my case this was the centre of the sticker). To centre the text we will need to backspace exactly half of the total spaces used, including letters, numbers, punctuation, and also any spaces.
The easiest way, I find, to do this is to backspace once for every second letter (or number, punctuation or space).
Using the text you want to type, say each letter out loud (remembering to include numbers, punctuation and spaces), and backspace once every second letter. So for my example of “28 April – 4 May”, this is how I backspaced. 2 8 (backspace) space A (backspace) p r (backspace) i l (backspace) space hyphen (backspace) space 4 (backspace) space M (backspace) a y (backspace). From that position you’re now…type away! Try this method and you’ll find you have beautifully entered text every time.
Because I had journaled about this photo on my right page, I chose to just add a few phrase and word strips from a Cosmo Cricket Tiny Text sticker sheet to this card, and added some enamel dots and Studio Calico wood veneers to represent Mum and daughter.
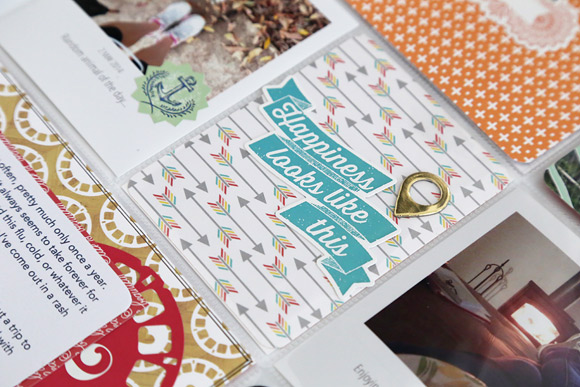
This simple filler card was made from patterned paper cut down to 3 x 4”. I wanted to use the banner sticker, but if you look closely you can see that it was just a bit too wide to fit in the pocket. Because it had good adhesive, I positioned it where I wanted it, and stuck it directly onto the outside of the plastic pocket. I really like how it overlaps the pocket just that little bit. I adhered the gold foil geotag to the patterned paper and slid it inside the pocket.
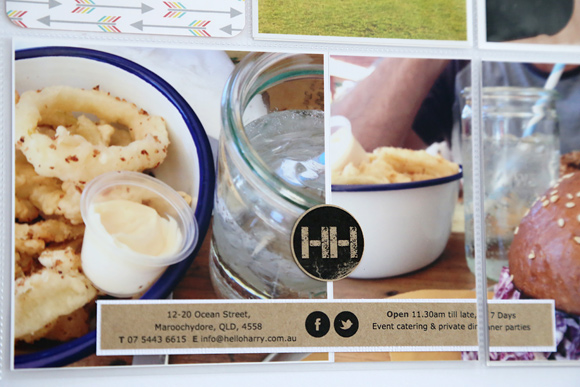
On the right page I had two 4 x 4” photos to use, but since I’m using a Design A pocket page, there are two pockets across the bottom that are each 6 x 4”. To work around this I trimmed my right side photo in half at 2”. I then adhered the remaining 4 x 4” photo and left side of the photo I cut in half to a 6 x 4” backing card to make sure they stayed in position. This slid into the left 6 x 4” pocket. I adhered the right side of my cut in half photo to the very left of another 6 x 4” backing card, leaving me a 4 x 4” journaling space on the right side of the photos.
The memorabilia on these photos is from the menu of the burger cafe I took the photos at. Because the menu was a single A4 sheet I didn’t feel too bad about swiping one for scrapbooking purposes. I might think twice about it if I was at a swanky restaurant though! (Taking a discrete photo of the menu like I did here is a better option in that situation ha!) I used a circle punch to punch out the café’s logo from the top of the menu, and trimmed a strip with some basic info about the café, which I backed with white cardstock to make it pop off the photos a bit more.
To finish off the remaining 4×4” journaling space I cut patterned paper to size, layered a frame and element stickers, and typed my journaling onto a label sticker. Finally I added some more enamel dots, and that’s Week 18 done!
Thanks so much for dropping by the Papercut Labs blog today!
We’ve been pretty quiet lately. Who can blame us with two amazing classes running at the moment: Flashy Cards Fast! and Fun & Funky Christmas. But that’s not what we’re talking about today.
Let’s talk about the Christmas celebrations!
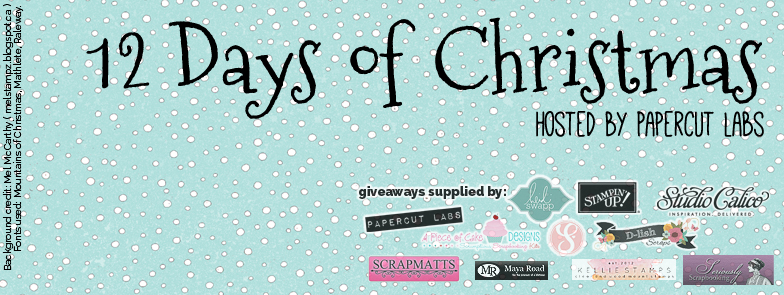
We’ve joined together with a multitude of business (as seen in the picture at the very top of this post) to give YOU a little Christmas cheer. Each business has put together TWO giveaway prizes just for you.
That’s TWENTY FOUR prizes in total.
We’ve got some of the prizes displayed below.
I guess the question is, how do you win one of these amazing gifts?
It’s really easy.
1. By joining the crop party event, you get an entry into the giveaway draw.
2. When the crop opens next week Wednesday, by creating a project (card, layout, OTP, something paper-y) inspired by the challenges, and uploading it to the event page, you’ll receive SIX entries into the giveaway draw.
3. By commenting on a project on the event page, you’ll receive an entry into the giveaway draw.
Simple, right? We’re honestly trying to help you get your Christmas crafting done. =)
(Unfortunately FB have changed their giveaway/competition rules and we can no longer ask you to like pages–which honestly would have been easier.)
And what’s this about a blog hop?
WELL, we’re glad you asked! Starting on Monday 8 December, each of the giveaway suppliers (what would you call them? I can’t think of a better term) will be posting a creative project on their blog. And on the same day, here on our blog, we’ll be announcing the winners of their giveaway.
I hope that’s clear. I’ve been thinking about this for months now, that sometimes details get missed when I try to explain it. So if you have any questions, don’t hesitate to comment below.
P.S. We know that the 12 days of Christmas is actually AFTER Christmas, but we really like the idea of 12 days. Please forgive us!
Today, our Christmas classes have gone on sale! This is super exciting since I was actually filming them with Donna just three weeks ago, and I can’t wait to try some of the techniques out myself. (I have to say, I’m particularly taken with the postcard.)
You might have noticed I said “classes”. We’ve launched two: however, there’s a catch!
The full ‘Fun & Funky Christmas‘ is four weeks of jam-packed Christmas gift making, card making, advent calendar making and even table decoration making. There’s over an hour of video tutorial (probably closer to 90 minutes), and a multitude of handouts that you can take with you on any device you like.
The ‘Fun & Funky Advent Calendar‘ is just the advent calendar project. This is week two of the full course. The advent calendar is so large with so many details and so many instructions, some people might just want to tackle this one.
Which is why we’ve split it up. We want to give you as many options as possible for learning exactly what you want.
That’s enough talk though.
We’re giving you a freebie today!
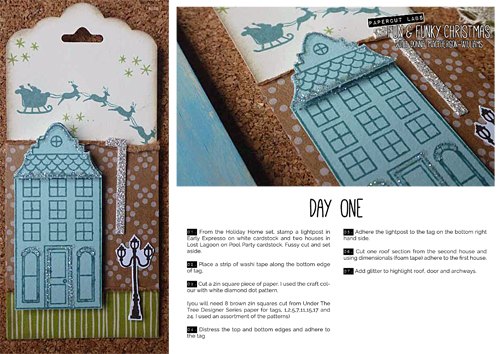
Over the past two weeks, I’ve been designing and building the PDF handouts that go with the two November classes. And today, you get to download one for yourself!
This is day one of the Advent Calendar. Most of the handouts (for both the Christmas class and Natalie’s Flashy Cards Fast) are gorgeous like this. They’re easy to read and print off.
When you press the image below, you’ll see that the images on the PDF are a little dark and the font not always sharp. This is because this is a low-res PDF, which means it’s easier to download quickly. When you’re in the class, you get the option of a low-res PDF or a hi-res PDF. Hi-res PDFs are best for printing.
** Note: there is no material list, since the whole Advent Calendar uses a similar set and the list will be a page on its own. However, if you’re looking for the materials, most of them are from Stampin’ Up!


