Project Life tip: using the typewriter
Hi everyone! It’s Jodie here with you today and I’m super excited to have my first post on the Papercut Labs blog as a Project Life contributor!
My Project Life style is a little bit structured, but I also love to add in layers and lots of little embellishments. I do use Project Life cards, but most of the time I prefer to use 12 x 12” patterned paper or a 6” paper pad, and make my own cards.
I have my Week 18 spread for you today with a few tips, so lets get started!
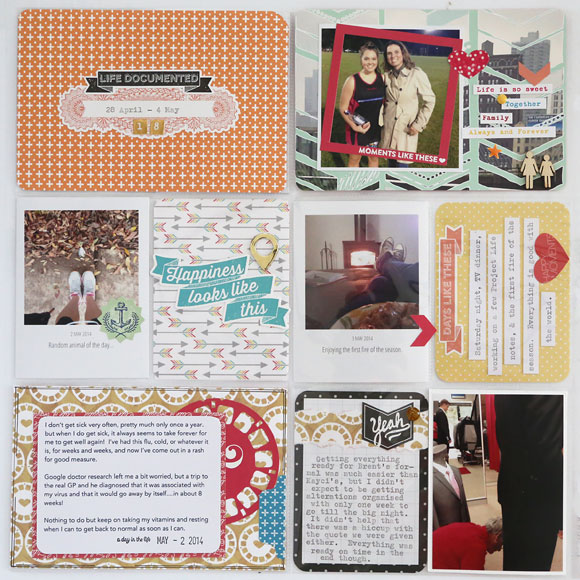
Here’s the left side.
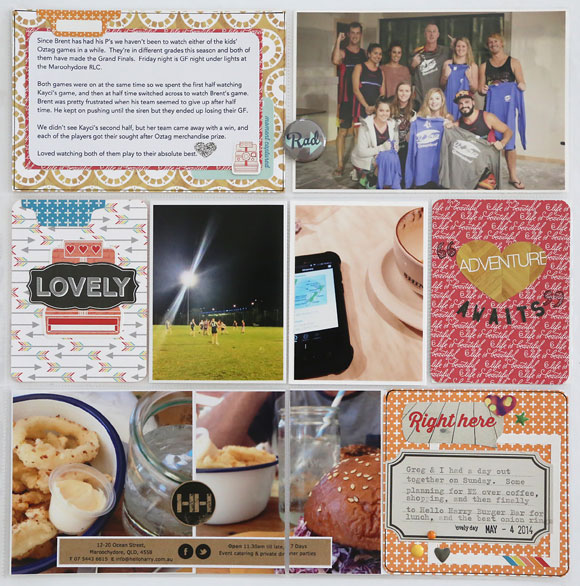
And the right.
This week I’ve used Echo Park Paper Co’s Capture Life collection. I’ve pulled a few patterned papers and this sticker sheet, which has lots and lots of embellishment options to choose from. I’ve also used two 3×4” cards from Becky Higgins’ Midnight edition core kit.
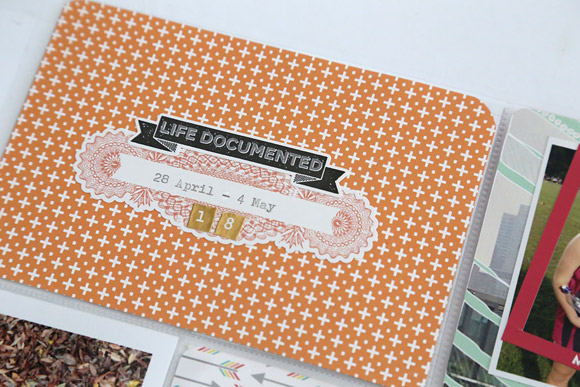
I’ve kept my title card this week fairly simple. I attached a label sticker to the centre of the card, which I then fed through my vintage typewriter, centering my dates on the sticker. Now, I’m (just…) old enough to have had typewriter lessons in high school, but for anyone that has grown up in the digital age, here’s a tip on how to centre your text on a typewriter.
First, feed your document through the roller until you have the line position correct. Use the space bar to move across to where the centre of the text will be (in my case this was the centre of the sticker). To centre the text we will need to backspace exactly half of the total spaces used, including letters, numbers, punctuation, and also any spaces.
The easiest way, I find, to do this is to backspace once for every second letter (or number, punctuation or space).
Using the text you want to type, say each letter out loud (remembering to include numbers, punctuation and spaces), and backspace once every second letter. So for my example of “28 April – 4 May”, this is how I backspaced. 2 8 (backspace) space A (backspace) p r (backspace) i l (backspace) space hyphen (backspace) space 4 (backspace) space M (backspace) a y (backspace). From that position you’re now…type away! Try this method and you’ll find you have beautifully entered text every time.
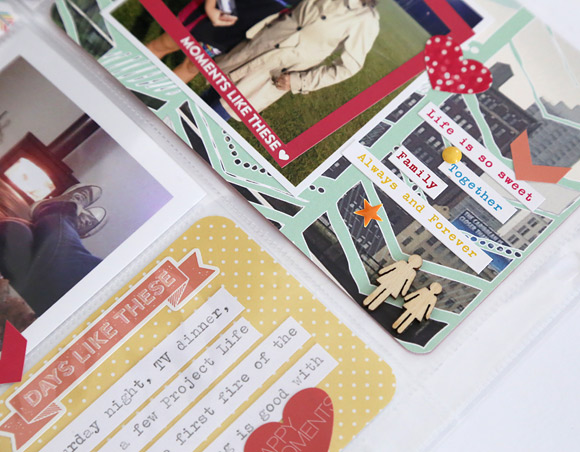
Because I had journaled about this photo on my right page, I chose to just add a few phrase and word strips from a Cosmo Cricket Tiny Text sticker sheet to this card, and added some enamel dots and Studio Calico wood veneers to represent Mum and daughter.
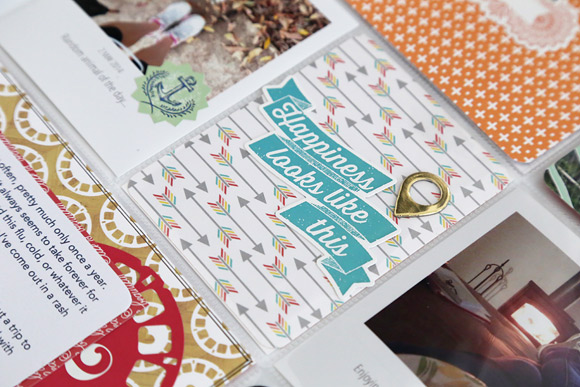
This simple filler card was made from patterned paper cut down to 3 x 4”. I wanted to use the banner sticker, but if you look closely you can see that it was just a bit too wide to fit in the pocket. Because it had good adhesive, I positioned it where I wanted it, and stuck it directly onto the outside of the plastic pocket. I really like how it overlaps the pocket just that little bit. I adhered the gold foil geotag to the patterned paper and slid it inside the pocket.
On the right page I had two 4 x 4” photos to use, but since I’m using a Design A pocket page, there are two pockets across the bottom that are each 6 x 4”. To work around this I trimmed my right side photo in half at 2”. I then adhered the remaining 4 x 4” photo and left side of the photo I cut in half to a 6 x 4” backing card to make sure they stayed in position. This slid into the left 6 x 4” pocket. I adhered the right side of my cut in half photo to the very left of another 6 x 4” backing card, leaving me a 4 x 4” journaling space on the right side of the photos.
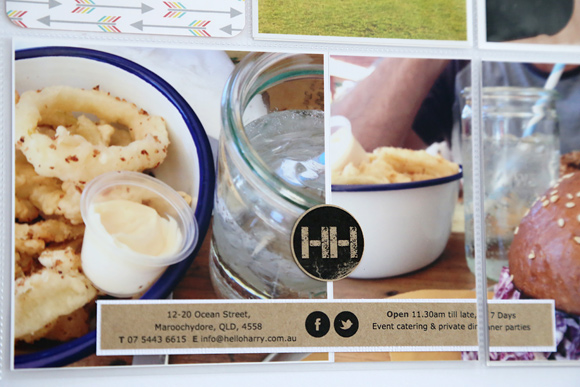
The memorabilia on these photos is from the menu of the burger cafe I took the photos at. Because the menu was a single A4 sheet I didn’t feel too bad about swiping one for scrapbooking purposes. I might think twice about it if I was at a swanky restaurant though! (Taking a discrete photo of the menu like I did here is a better option in that situation ha!) I used a circle punch to punch out the café’s logo from the top of the menu, and trimmed a strip with some basic info about the café, which I backed with white cardstock to make it pop off the photos a bit more.

To finish off the remaining 4×4” journaling space I cut patterned paper to size, layered a frame and element stickers, and typed my journaling onto a label sticker. Finally I added some more enamel dots, and that’s Week 18 done!
Thanks so much for dropping by the Papercut Labs blog today!
Jodie