Blog Hop: Get organised for the festive season!
Welcome, welcome to the Papercut Labs’ 12 Days of Christmas! Over the next twelve days we have some awesome Christmas projects to inspire you and (if you’re not already) get you totally in the Festive Spirit! To keep up with the hop and where it lands each day: visit our information page. And don’t forget to join the crop event for chances to win the giveaway prizes.
So where are you in the hop? DAY ONE! Make sure you check A Piece of Cake Designs tomorrow for stage two.
Monday, 8 December 2014: Papercut Labs << YOU ARE HERE
Tuesday, 9 December 2014: A Piece of Cake Designs
Wednesday, 10 December 2014: Kellie Stamps
Thursday, 11 December 2014: Heidi Swapp
Friday, 12 December 2014: The Scrappery
Saturday, 13 December 2014: Seriously Scrapbooking
Sunday, 14 December 2014: Maya Road
Monday, 15 December 2014: Stampin’ Up!
Tuesday, 16 December 2014: Scrapmatts
Wednesday, 17 December 2014: D-lish Scraps
Thursday, 18 December 2014: Studio Calico
Friday, 19 December 2014: Papercut Labs
It’s Jodie for Papercut Labs with you today for the First Day of Christmas, and I have a project that can help you get organised for the Festive weeks ahead. (Note from editor: click the images to view a larger version of them!)
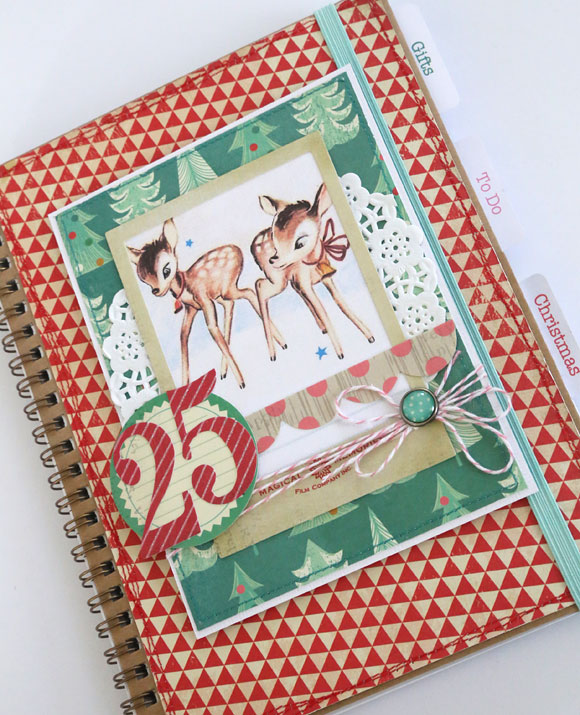
I don’t know about you, but when it comes to the busy time around Christmas I really need lists to stay on top of everything. Each year I grab a notebook that I can alter and use for the entire Festive Season, so that I can keep track of my notes, things to do, gift ideas, family holiday plans and anything else that pops up. Everything is in one place and easy to find which is definitely a good thing! With a few scrapbooking supplies, a sewing machine and a printer, you can put together a Festive Planner like this in no time at all.
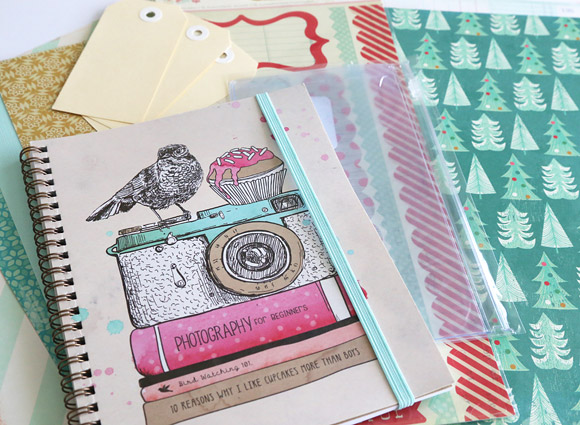
My favourite notebook to alter is an A5 spiral notebook from Typo. They come with a back cover in heavy duty coloured cardstock and an elasticised band to keep the notebook tidy and secure. Because I remove the original front cover I love that they have a second inner cover also made from cardstock.
The back covers & elasticised bands come in different colours so you can pick a notebook according to your chosen colour palette.
For my other supplies I’ve used some papers from my stash from Crate Paper’s Bundled Up collection. I’ve also used some coordinating papers from other Crate Paper lines, Style Board and Oh Darling, some Bundled Up ephemera and some free Christmas printables from Marie Lottermoser. My full materials list is included at the bottom of the post.
The first step is to alter the front cover. With a pair of scissors remove the original front cover of the notebook. You’ll be left with a cardboard inner cover which will be the base for our festive front cover. In my case, the inner cover is kraft cardstock. Add a patterned paper which has been trimmed so that it’s just smaller than the notebook (creating a border) and then embellish as you wish.
I’ve chosen one of the Christmas free printables from Marie Lottermoser as a feature for my front cover. You can find these gorgeous fawns and three other designs on Marie’s blog.
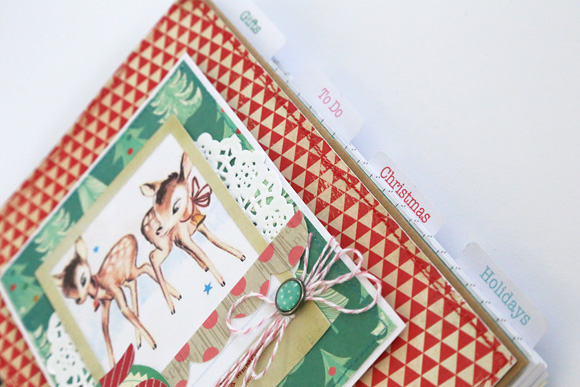
I’ve divided my planner into sections and added a tab to each one. This makes it easy to thumb straight to the section I need.
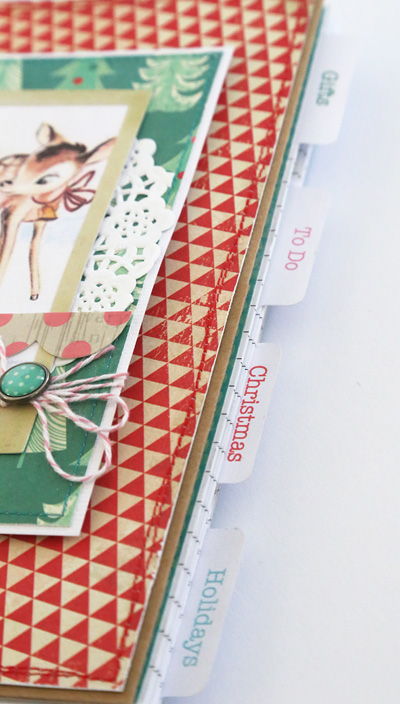
To make the tabs, I’ve typed my headings in Word, using a different colour for each title within my colour palette. I’ve printed these onto the smooth side of some white cardstock, and then punched each title out with a tab punch. If you don’t have a tab punch you can simply cut the words out in rectangles of the same size and use a corner rounder to round the top two corners of each rectangle.
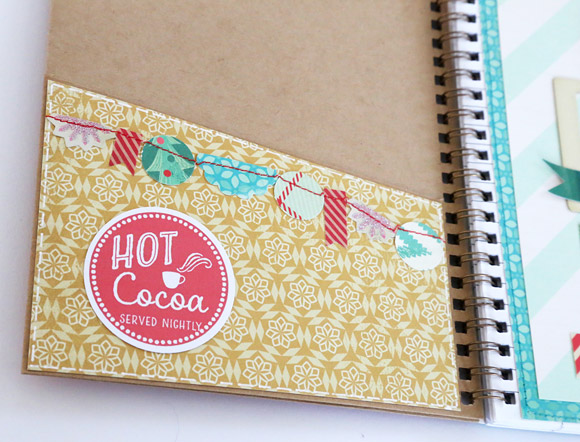
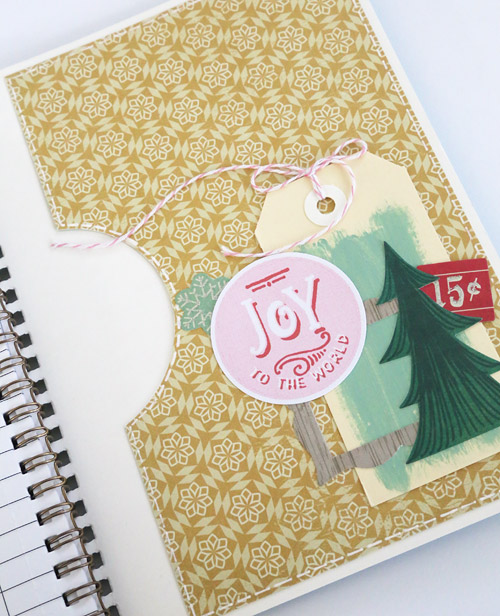
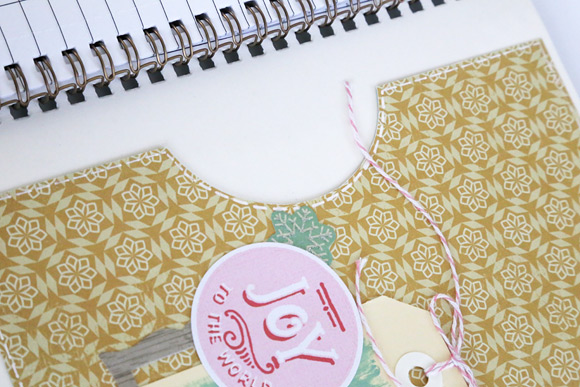
There’s already a pocket inside the front cover of the Typo notebook, but to make it a little more festive I’ve trimmed it so the top of the pocket runs diagonally.
To do this measure one inch (1″) down from the top of the pocket on the right side. Line that mark up with the top edge of the pocket on the left side and mark with a pencil. Cut away the top portion with scissors. Add some patterned paper cut to size and embellish.
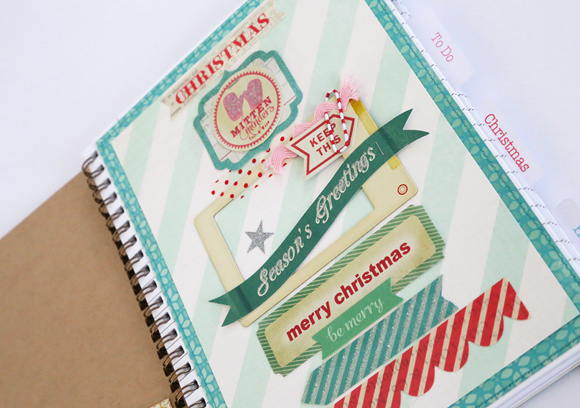
The next step is to add strength to each heading page so that its not easily torn out of the notebook.
Adhere the tab for the section in place on the sheet of notepaper, and adhere a piece of patterned paper cut to size over the top. Add another two notebook pages (you’ll now have a piece of patterned paper and three notebook pages in total), and using a sewing machine stitch them all together around the outside edge. (Tip: to stitch close to the spiral you can use a zipper foot on your sewing machine.) This makes a sturdy section header page that won’t tear out of the planner easily. Then you can embellish your page. Repeat this step for each heading page in your notebook.

You can create as many sections and tabs in your festive planner as you like. This year I’m happy with four sections: one for keeping track of gifts to buy; one for chores that need doing before Christmas; another for Christmas itself, (for things like recipes that I want to make for Christmas Dinner, grocery lists, Christmas treats to make); and finally one for our family holidays (lists of things we need to pack, places we want to visit while on holidays).
The circle printables I’ve used throughout my planner are also from Marie Lottermoser. They’re a set of 9 that suit a 2” circle punch, and you can find them on her blog here.
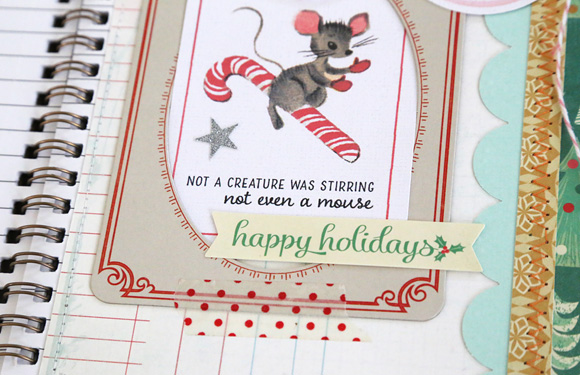

As I’ve embellished each page, I’ve coordinated the colours to match the font colour on the corresponding tab.

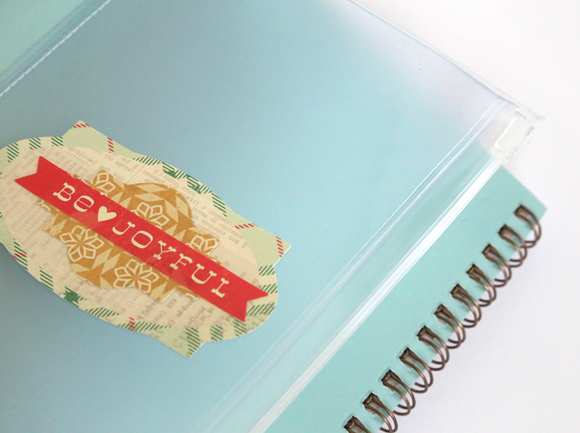
To add an extra storage area on the back of the planner I’ve used a plastic sealable pocket that I picked up for a bargain from Officeworks.
I’ve positioned it on the outside of the back cover and stitched it in place along the bottom edge with my sewing machine so that it’s securely in place. I’ve then added a couple of stickers and some die cut patterned paper straight onto the plastic pocket.
Once the plastic pocket is stitched to the back you can then add another pocket to the inside of the back cover.
Trim a piece of patterned paper to size, then using a large circle punch, punch a semi circle on one side of the pocket.
Attach your pocket using double sided tape on the three straight edges and embellish. Because I didn’t want to stitch through the back cover I faux stitched this pocket using a white rollerball pen.

As an extra little place to secure notes or to mark a place in my planner, I’ve given a wooden peg a bit of festive treatment. I’ve watered down some gesso to create a white wash for the top portion of the peg, and then painted the bottom portion with Mod Podge and added a good coat of red glitter.
This really is a quick festive project that will help you keep all your Christmas planning in the one easy to find place!
Thanks for joining me on day one of the 12 Days of Christmas blog hop! Don’t forget that the crop is still open and you can try to win giveaway prizes right up to December 20!
— Jodie
Materials:
Typo A5 spiral notebook, Officeworks sealable plastic pocket, patterned paper – Crate Paper Bundled Up, Style Board & Oh Darling collections, American Crafts cardstock, Crate Paper Bundled Up Accent Stickers & Ephemera, Crate Paper frames, Heidi Swapp Mixed Company Buzz Words, My Minds Eye brad, October Afternoon labels, Sizzix die, bakers twine, wooden peg, glitter, shipping tag, acrylic paint, gesso, doily, Christmas free printables from Marie Lottermoser, ric rac, scallop edge punch, washi tape, paperclips
This looks awesome!
these are so cute!!
So fun looking!
Carla from Utah
What a great idea!
love the added pocket..
Oh wow! What a cool project! This is a great gift idea…. Thanks for sharing!!!!